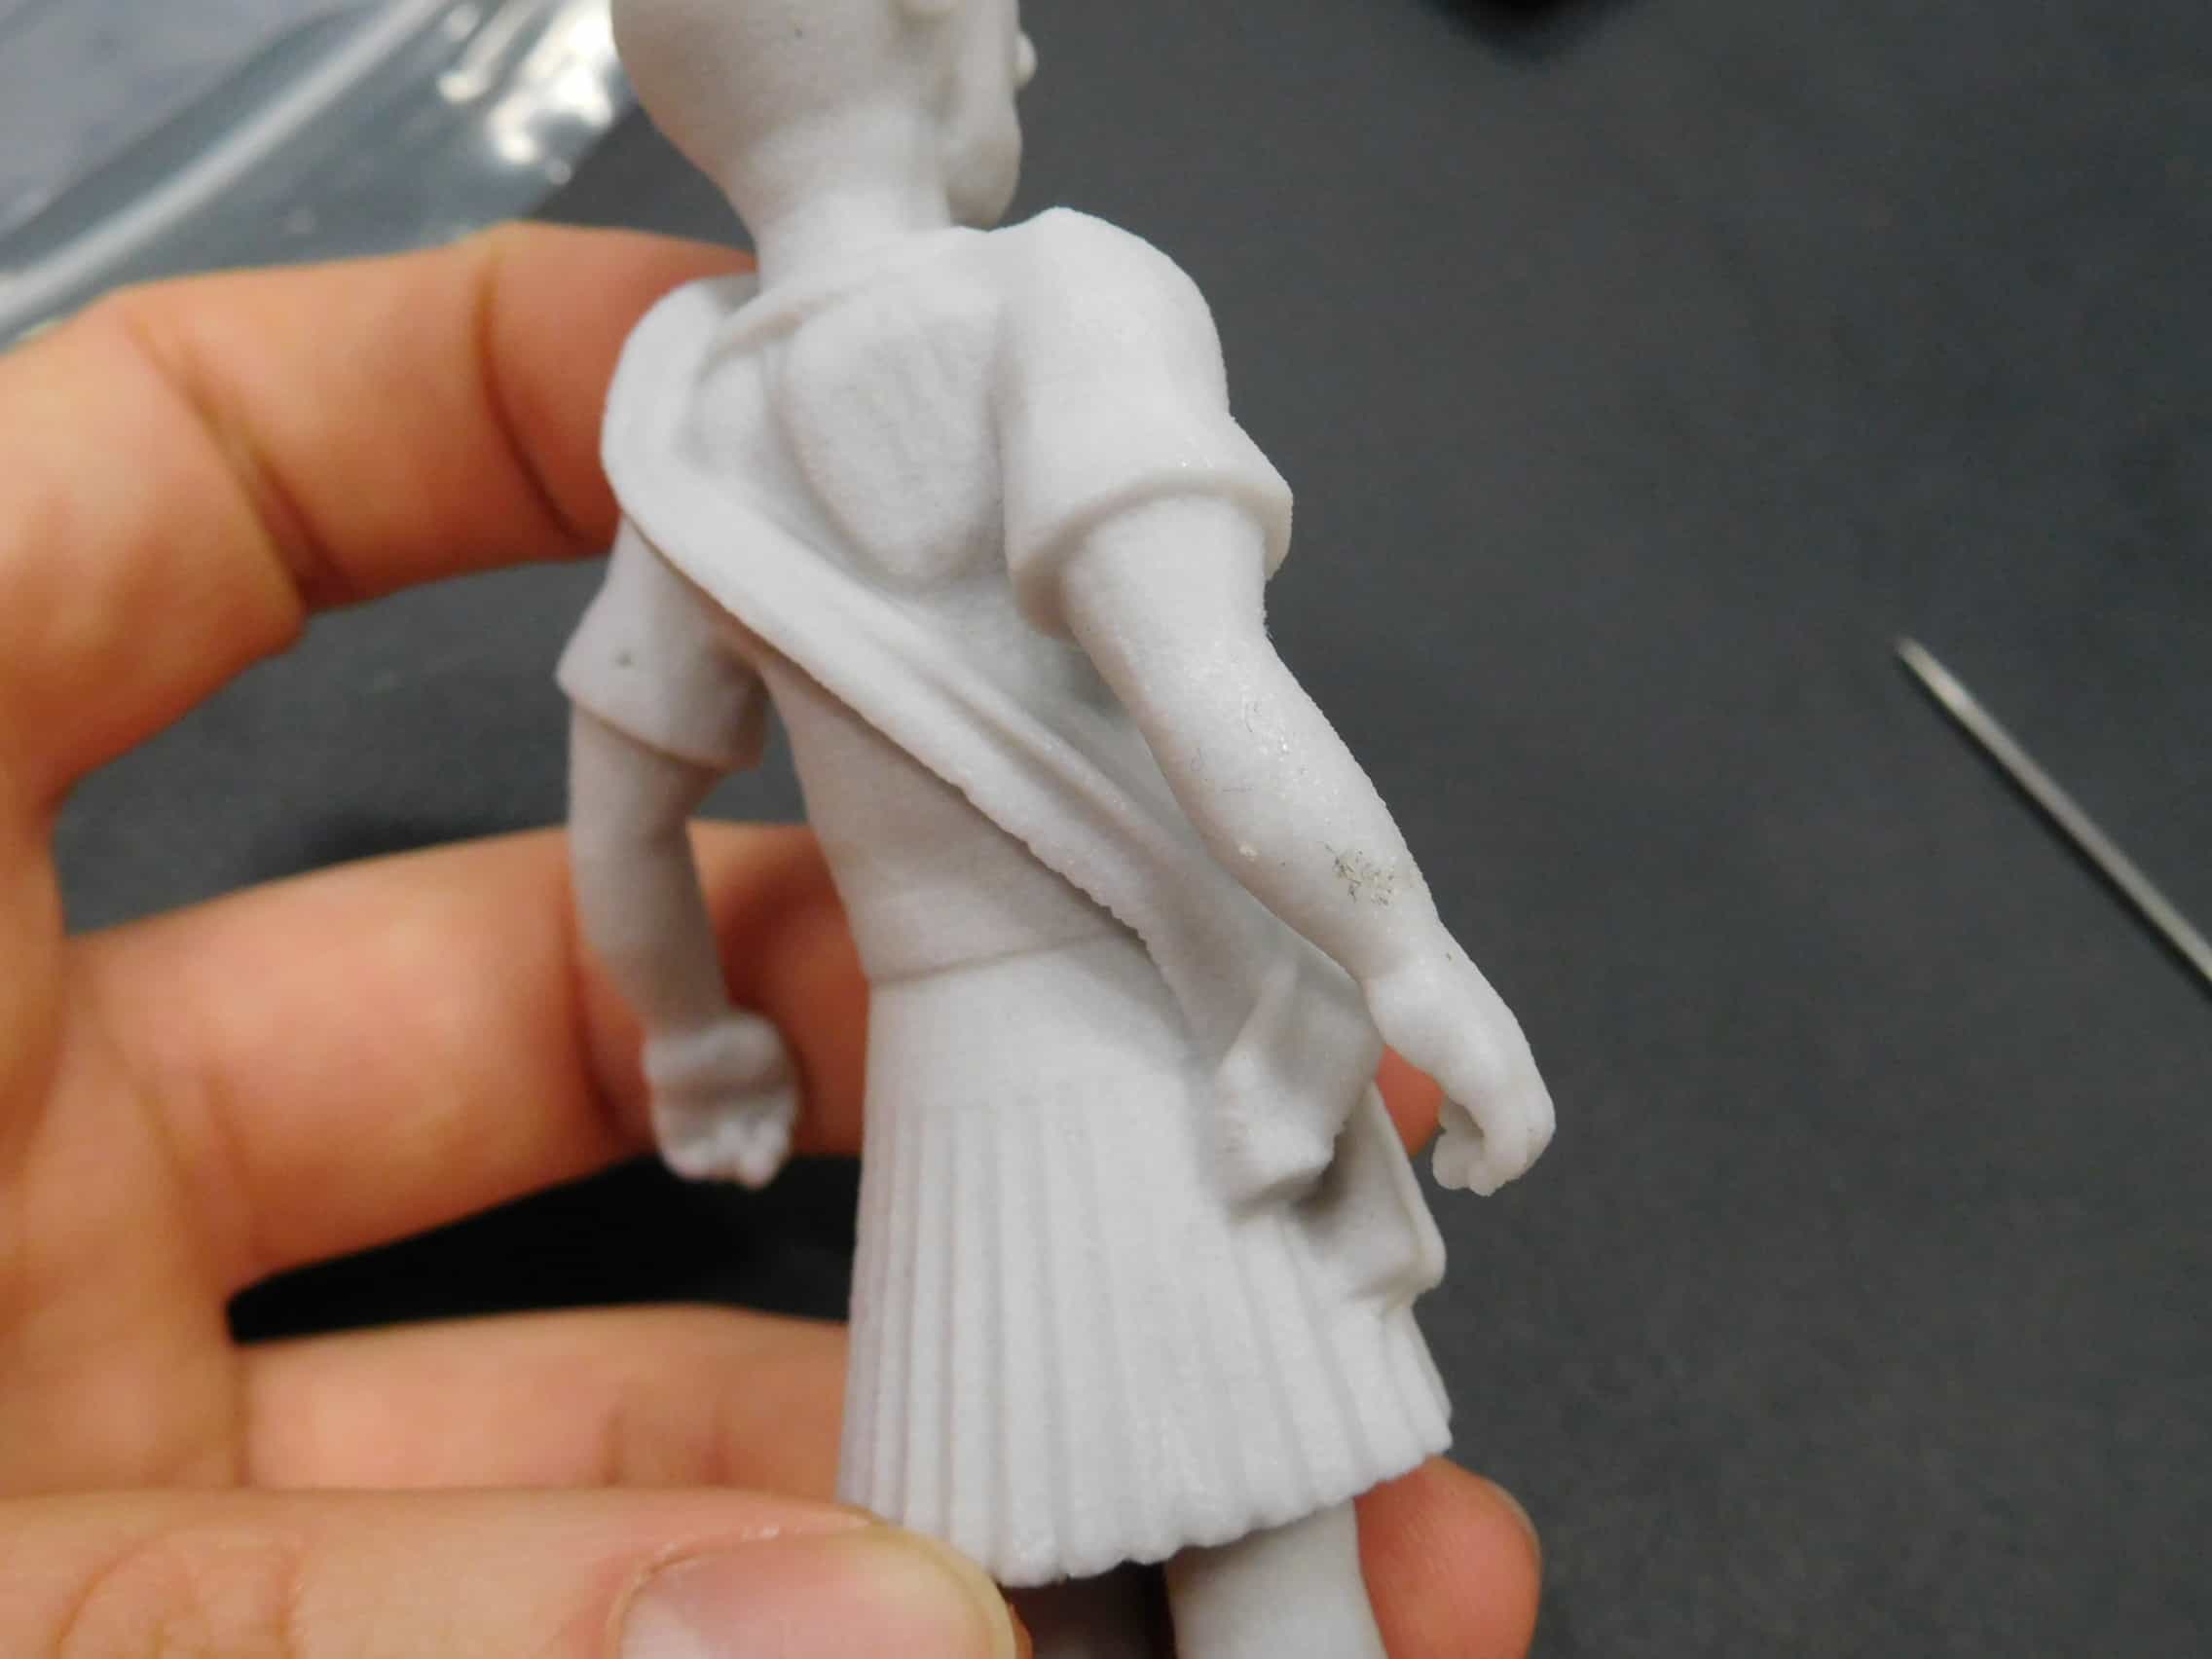
Evolution of Sandy
We just took delivery of our latest batch of models from Shapeways. This time we are experimenting with how to 3d print in colour.
This time we have Sandy properly printed in colour and we are very pleased with the result, especially how the tartan turned out.
Printing in Tartan
The detail in the kilt and sash are very recognisable as a MacKay tartan and the smallest details of the check are represented.
There are a couple of tweaks we need to make to the model before offering it for sale, his left ear is a bit thin and would print better if we made it a bit thicker, and we had some feedback that Sandy’s nose was a bit over the top regards cartoon styling. We will also remodel the tartan sash which looks too much like a blanket roll at the moment.

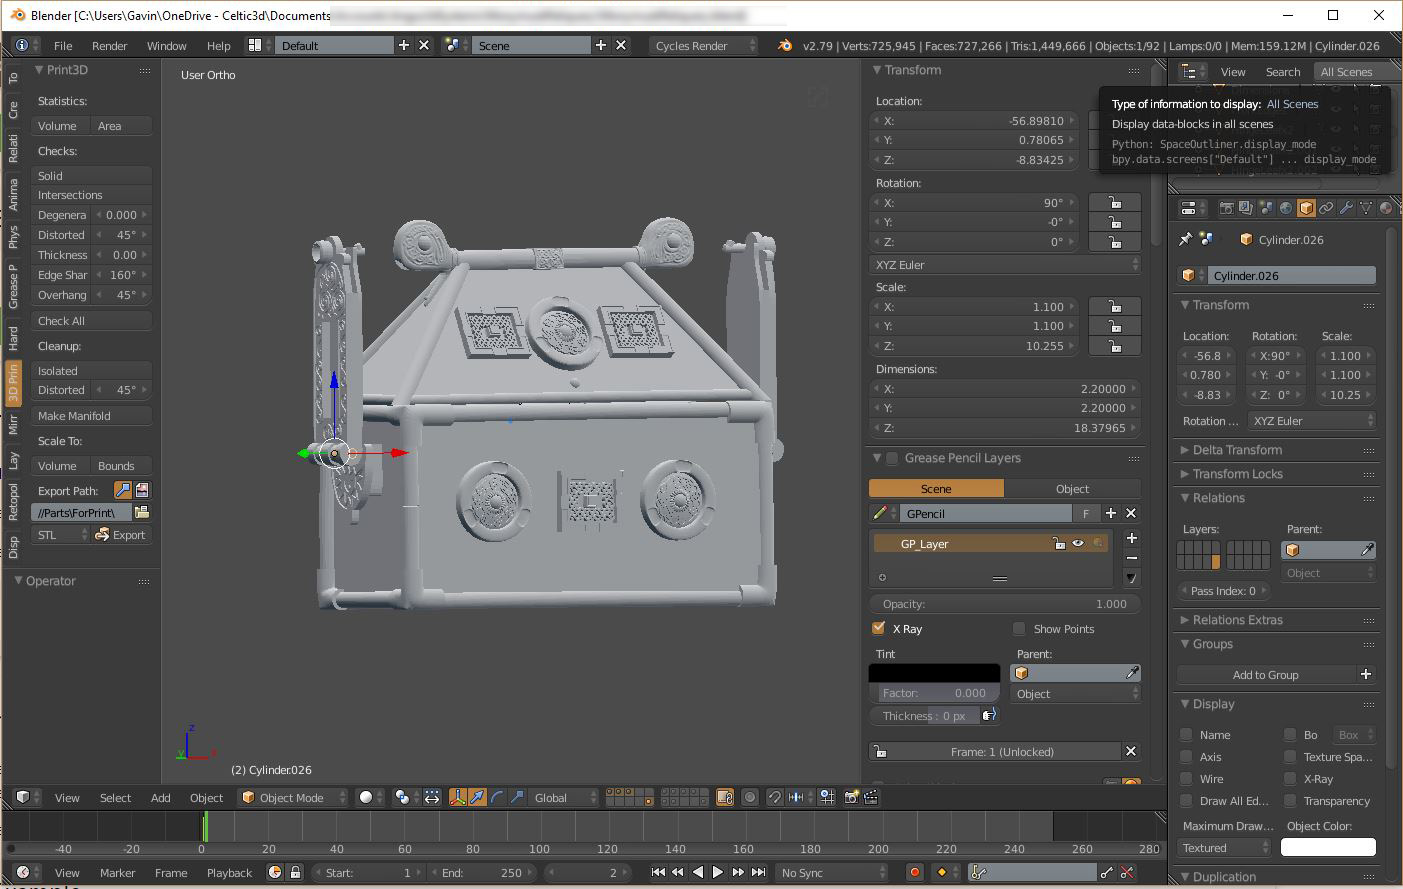
UV Mapping
With a tartan texture, it is critical to get the UV mapping right to ensure the lines are straight and the overall texture is not distorted. UV mapping describes how a flat texture file will be applied to the 3d model. Blender has some decent tools to do the UV unwrapping, but it is important to get comfortable with these tools and take some time to get it right. There are a couple of areas in our test print where we need to fix some distortion, but overall, pretty good.
Next Steps
The good news is that one a UV Map has been defined, swapping out one tartan for another is very easy to do. We were able to write a simple script in Python that changes tartan and exports the model and the texture in the correct format to upload to Shapeways.
Our next steps will be to automate the upload so that items can be selected, configured and uploaded to Shapeways all integrated with a shopping cart and checkout.