Blender Tips for 3D Printing
Blender is open source software which you can download for free at Blender.org. Blender relies on support from the Blender community, so if you do use it, it would be good form to contribute in some way.
We have been using Blender for several years as a side-hobby and creative outlet. We have experimented with modelling, creating realistic renders, animation, video sequencing and explored many of the amazing things Blender is capable of.
One of the comments I hear often about Blender is its steep learning curve, and there is a valid point here. One of the hurdles new users find is the vast array of functionality and not knowing where to begin. There are on-line tutorials to get you started, two of my favourites sources for tutorials are BlenderCookie and BlenderGuru. And keep an eye on BlenderNation for news and inspiration from what others are doing with Blender.
Blender for 3D Printing
Beyond getting to grips with the interface and a quick tour of the software, for 3D Printing purposes, I suggest narrowing your focus down to modelling skills. Master those and a world of possibilities open up for 3D Printing. You might need to learn the basics of UV unwrapping if you need to 3D print in colour. You can pretty much ignore everything else.
There are a couple of add-ons you will need.
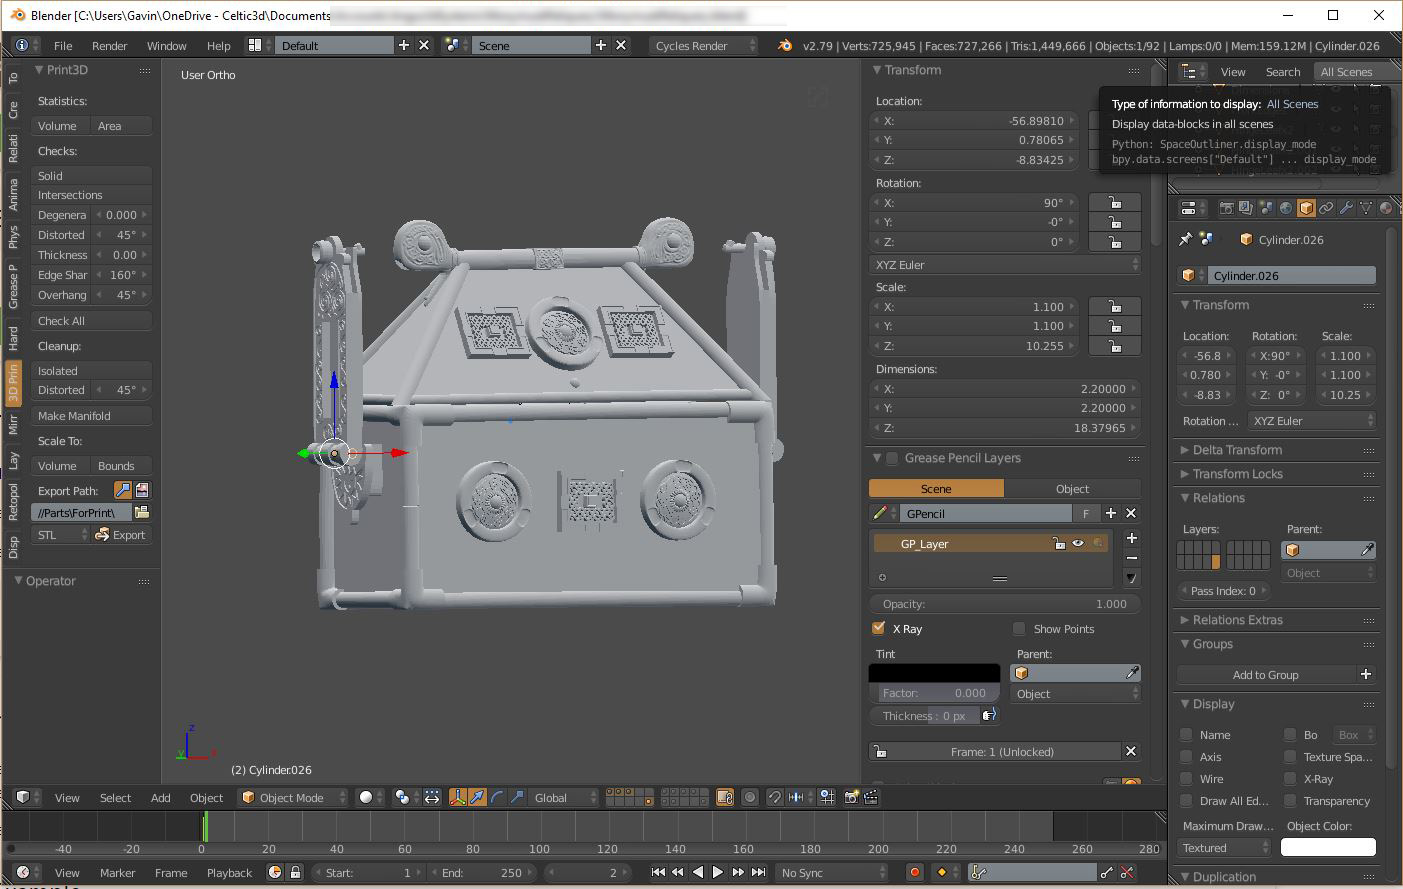
- Enable the 3D Print Toolbox Addon
- Comes with the default install but you may need to turn it on via the menu: File->User Preferences and going to the Add-On tab.
- BoolTool Addon.
- Does not come with the default install, but you should find the latest version, along with installation instructions with a search.

The 3D Printing Tool highlighted the edges around the eyes that need to be fixed.
- Does not come with the default install, but you should find the latest version, along with installation instructions with a search.

When using Blender to create a scene or a render, it is common practice to hide unseen details. Normally, if is hidden from view, there is no point in taking up your time or computer power to deal with it. This does not hold with 3D Printing, you need to define a complete physical object. This is illustrated well with “Suzanne”, the Blender test mesh. The default Suzanne looks like a solid object, but her eye sockets do not join with her eyeballs, and the eyeballs are only half a sphere. You need to fix this before you could 3D Print Suzanne.
Some basic tips:
- All your models need to be “manifold”. That means it must represent a fully enclosed physical object, with no holes or floating faces and no hidden internal structures. Otherwise your Slicing Software is not going to know how to print it.
- Use the 3D Print Toolbox to identify problems with your model. The ost important check is the manifold check. You need to fix those. I found with my prints, you can get away with some intersecting faces, and overhanging faces can be handled in the Slicing software by adding supports.
- Get the BoolTool addon to join shapes into a single mesh quickly and easily. Creating models for 3D Printing involves using a lot of boolean operations. Often you may find that the operation fails or has unexpected results. This usually means there is something wrong with one or both of the shapes you are trying to join. I have found that boolean operations can fail:
- If there are ngons with lots of edges. (e.g. a seven or more sided polygon). Fix this by using the knife tool to split the offending face into nice quads (four sided polygons).
- If there are hidden faces, edges or vertices inside your shape. You don’t want these anyway, search for them and fix them.
- If there are non-flat faces. The 3D Print tool can find and fix these for you.
- Some faces are not pointing outwards. Fix these from the Edit Mode menu: Mesh-> Normals -> Recalculate Outside.
- Watch out for modifiers when combining objects. The Boolean operation will apply all your modifiers during the operation. If you had a subsurface modifier on one part, and not the other, then you will end up with a mesh where parts are very dense and other parts not dense enough. This is a pain to to sort out afterwards. I always turn off my subsurface modifiers before joining parts with a boolean, and then apply again afterwards.
Finally, the BlenderCookie site I mentioned earlier has a YouTube video with their introduction to using Blender for 3D Printing. Check it out below: