3d Printing in Colour – Tartan Lettering
When it comes to multi-coloured 3d prints, it is difficult to match the versatility of inkjet technology combined with powder. We have done some experimental prints using online services and recently, signed up with Make Aberdeen to get access to their ProJet 460 printer. Make have a range of printers that available for use by anyone, in Belmont Street, in the city centre of Aberdeen.
Make Aberdeen
For a trial print with Make Aberdeen, we thought it would be fun to create some tartan letters.
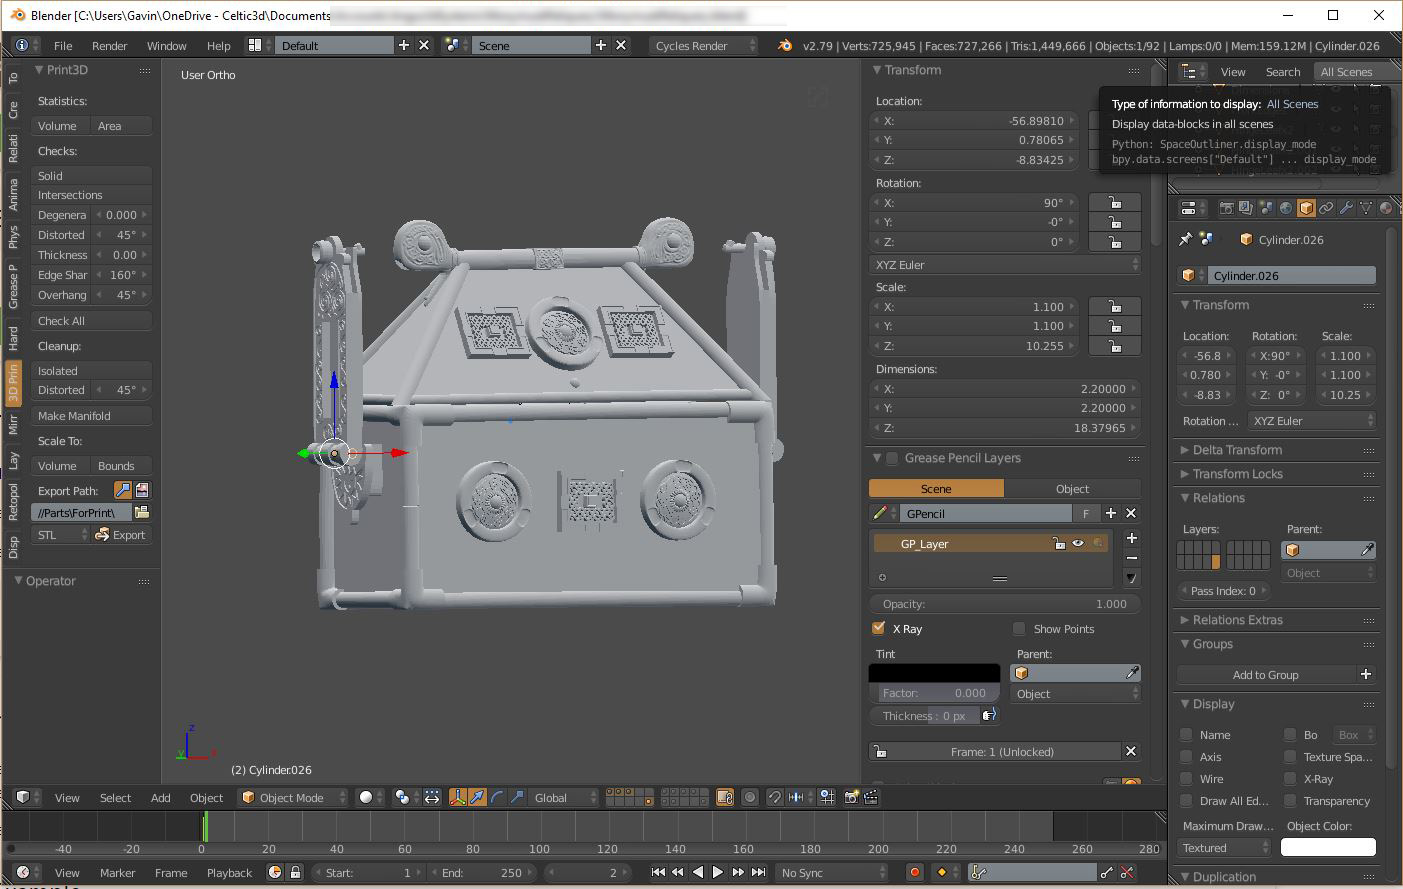
Letters were created and given a colour texture in Blender 3d software. The process is straightforward, but some needs care to ensure the resulting models can successfully print. We covered the steps to produce 3d printable letters back in December.
Preparing Models for Colour Print
In addition to creating model files that can be 3d printed, you need to include a texture file to give the model some colour. UV Unwrapping is the process of defining how the flat image is represented on the 3d surface of your model. As well as the modelling, UV Unwrapping is done in Blender.

A quick note on file formats. We made our first trip to the Make studio with X3D format files which we had successfully used with online services, but were not compatible. The ProJet printer can accept STL, VRML, PLY, 3DS or ZPR formats and for other formats, Make have Rhino 5 modelling software which can convert between a wide range of formats (but not X3D) . For the second visit, we took our files in VRML2 format with the file extension ‘.WRL’ which proved to be compatible.


Each letter, 5cm (2″) tall, took about 40 minutes to print. In addition to the print-time, there was an additional 1.5 hour drying time during which the printed models are left undisturbed in the powder bed.
Post Processing
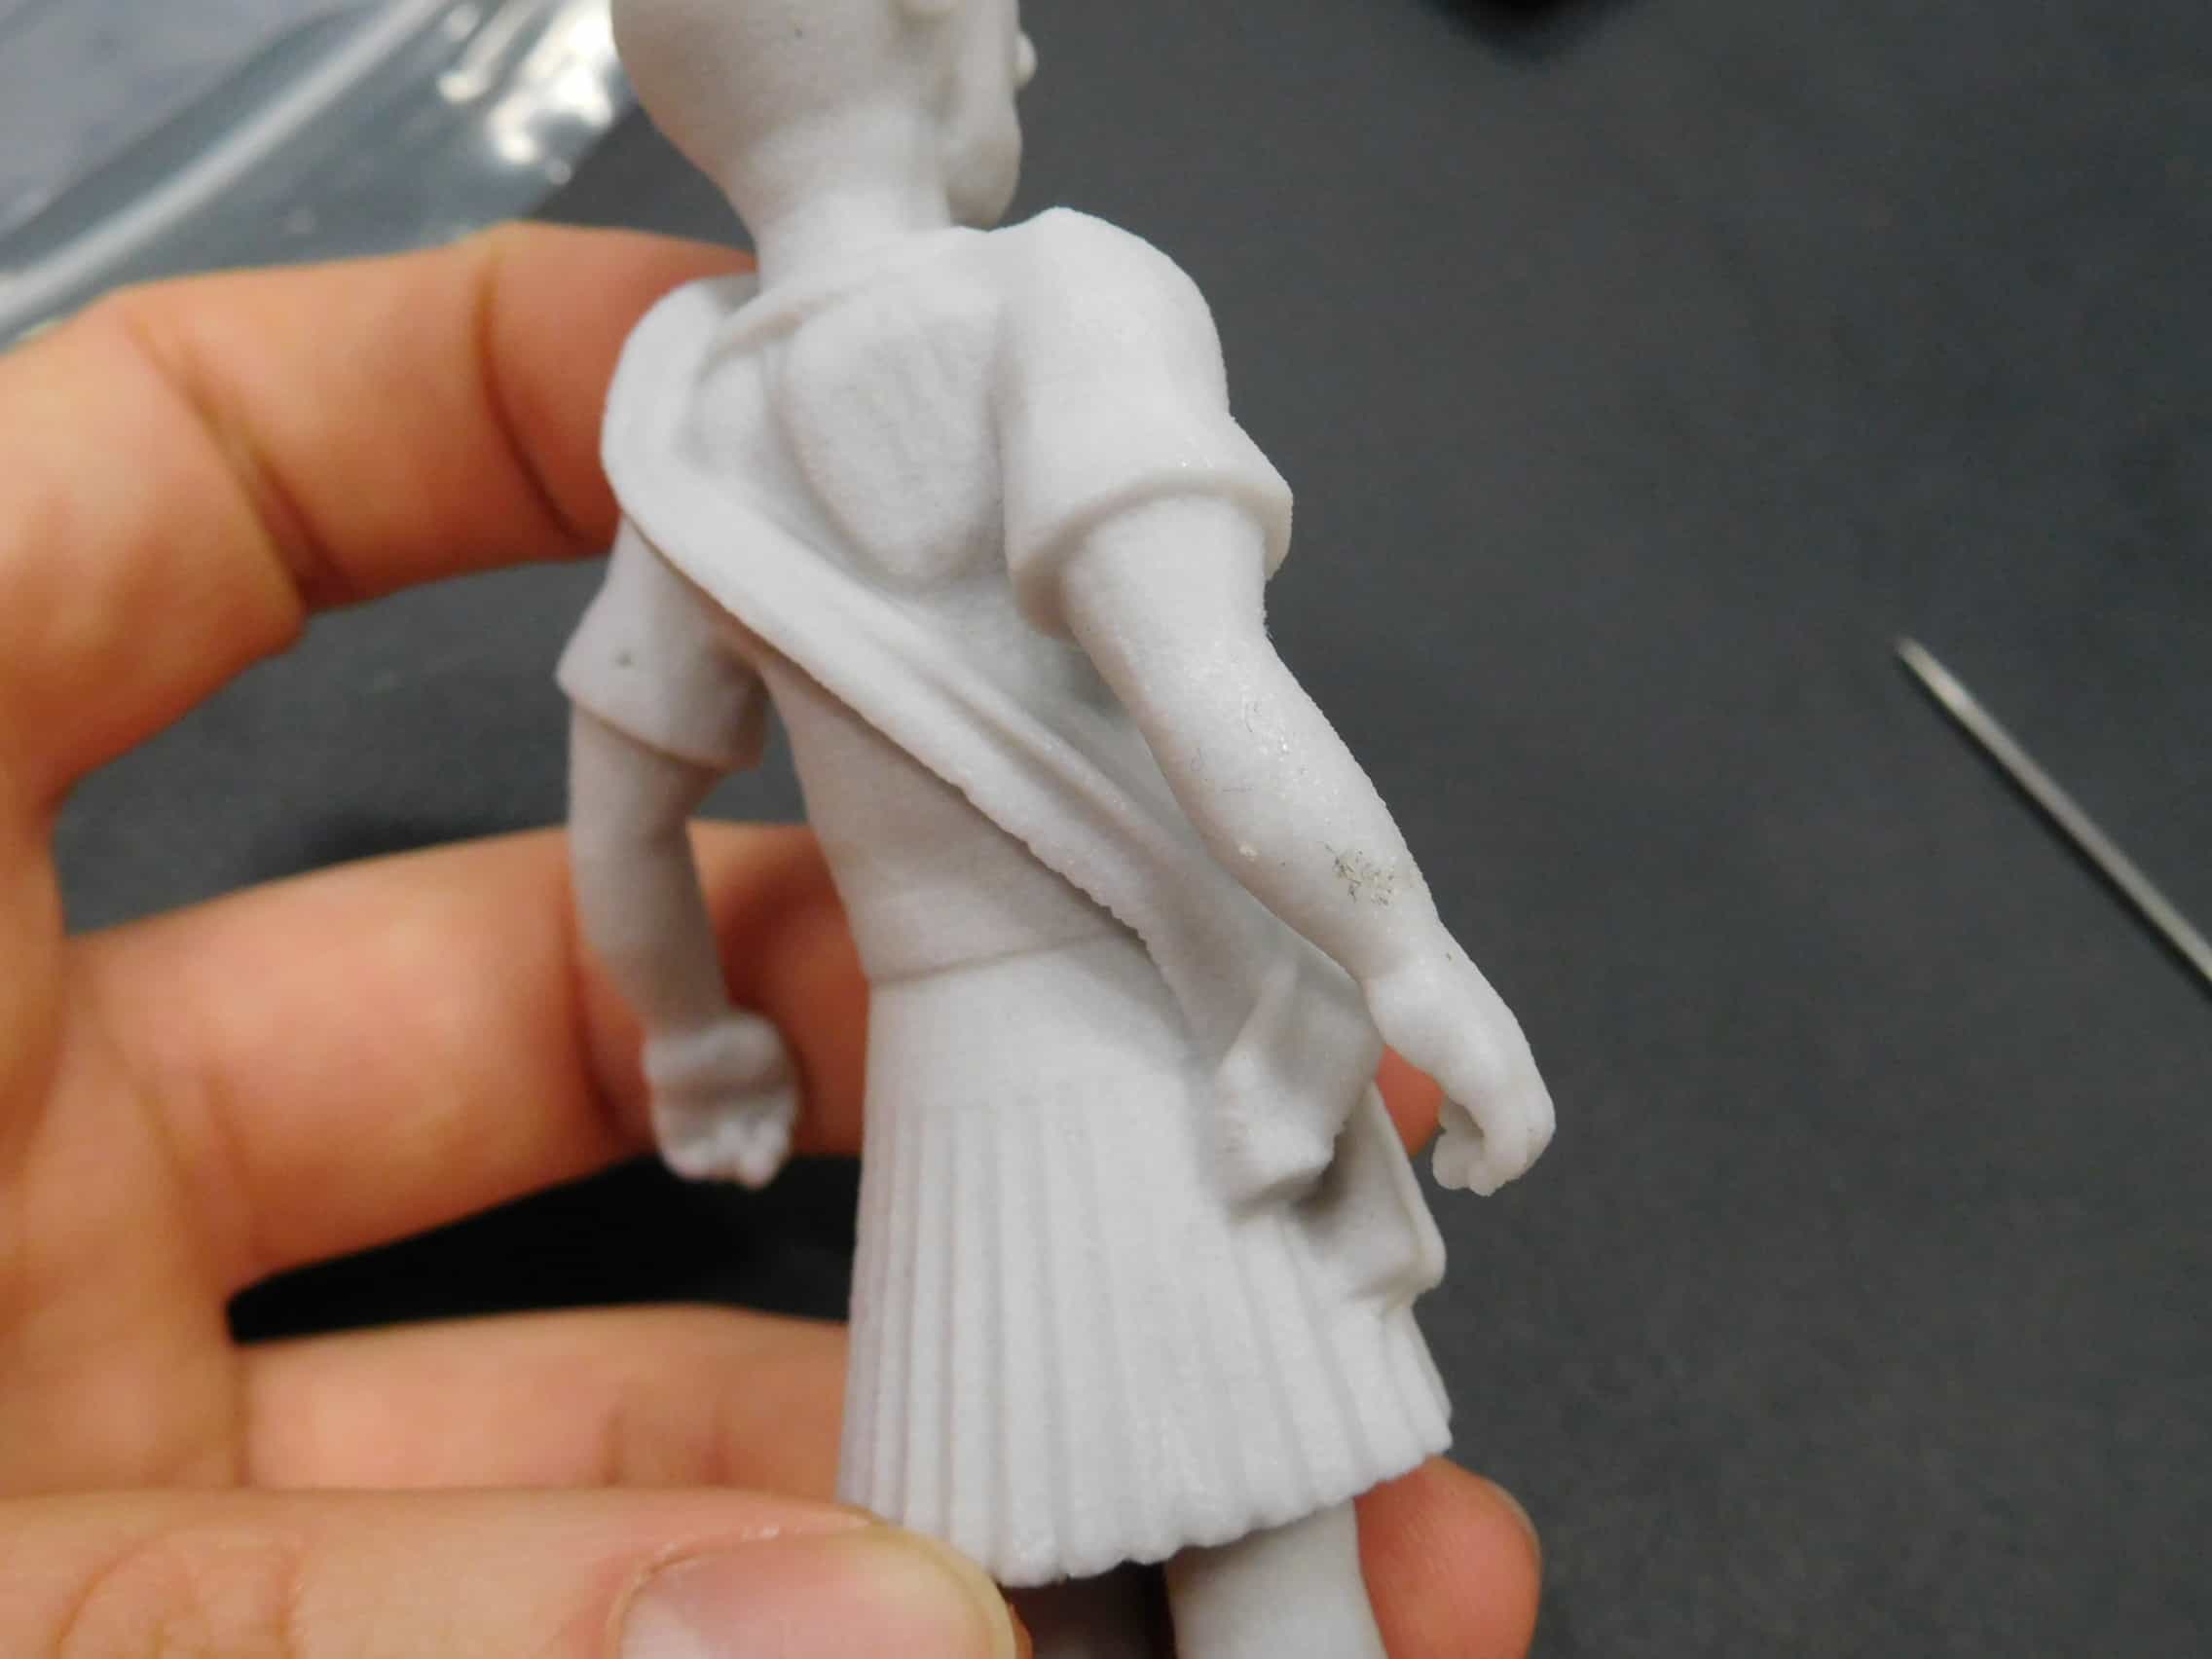
After drying, an air-jet is used to clean-off the white powder, leaving the printed, colour model. Initially the colours look washed-out, the parts are briefly immersed in a fixing agent that brings out the colour and also adds some structural strength to the part.


Thanks are due to the helpful staff at Make Aberdeen for their assistance in using their ProJet 460.
We are pleased with the result. It may well be worthwhile stepping through the remaining letters of the alphabet and UV Unwrapping them so we can apply a range of textures to them. Once a model has been unwrapped – assuming the UV mapping is to a tileable texture (rather than a composite file containing lots of different texture), swapping out the texture file is very quick and easy. A tartan pattern requires a high degree of precision in the mapping process as misalignment or stretching of the textures are very obvious in tartan.